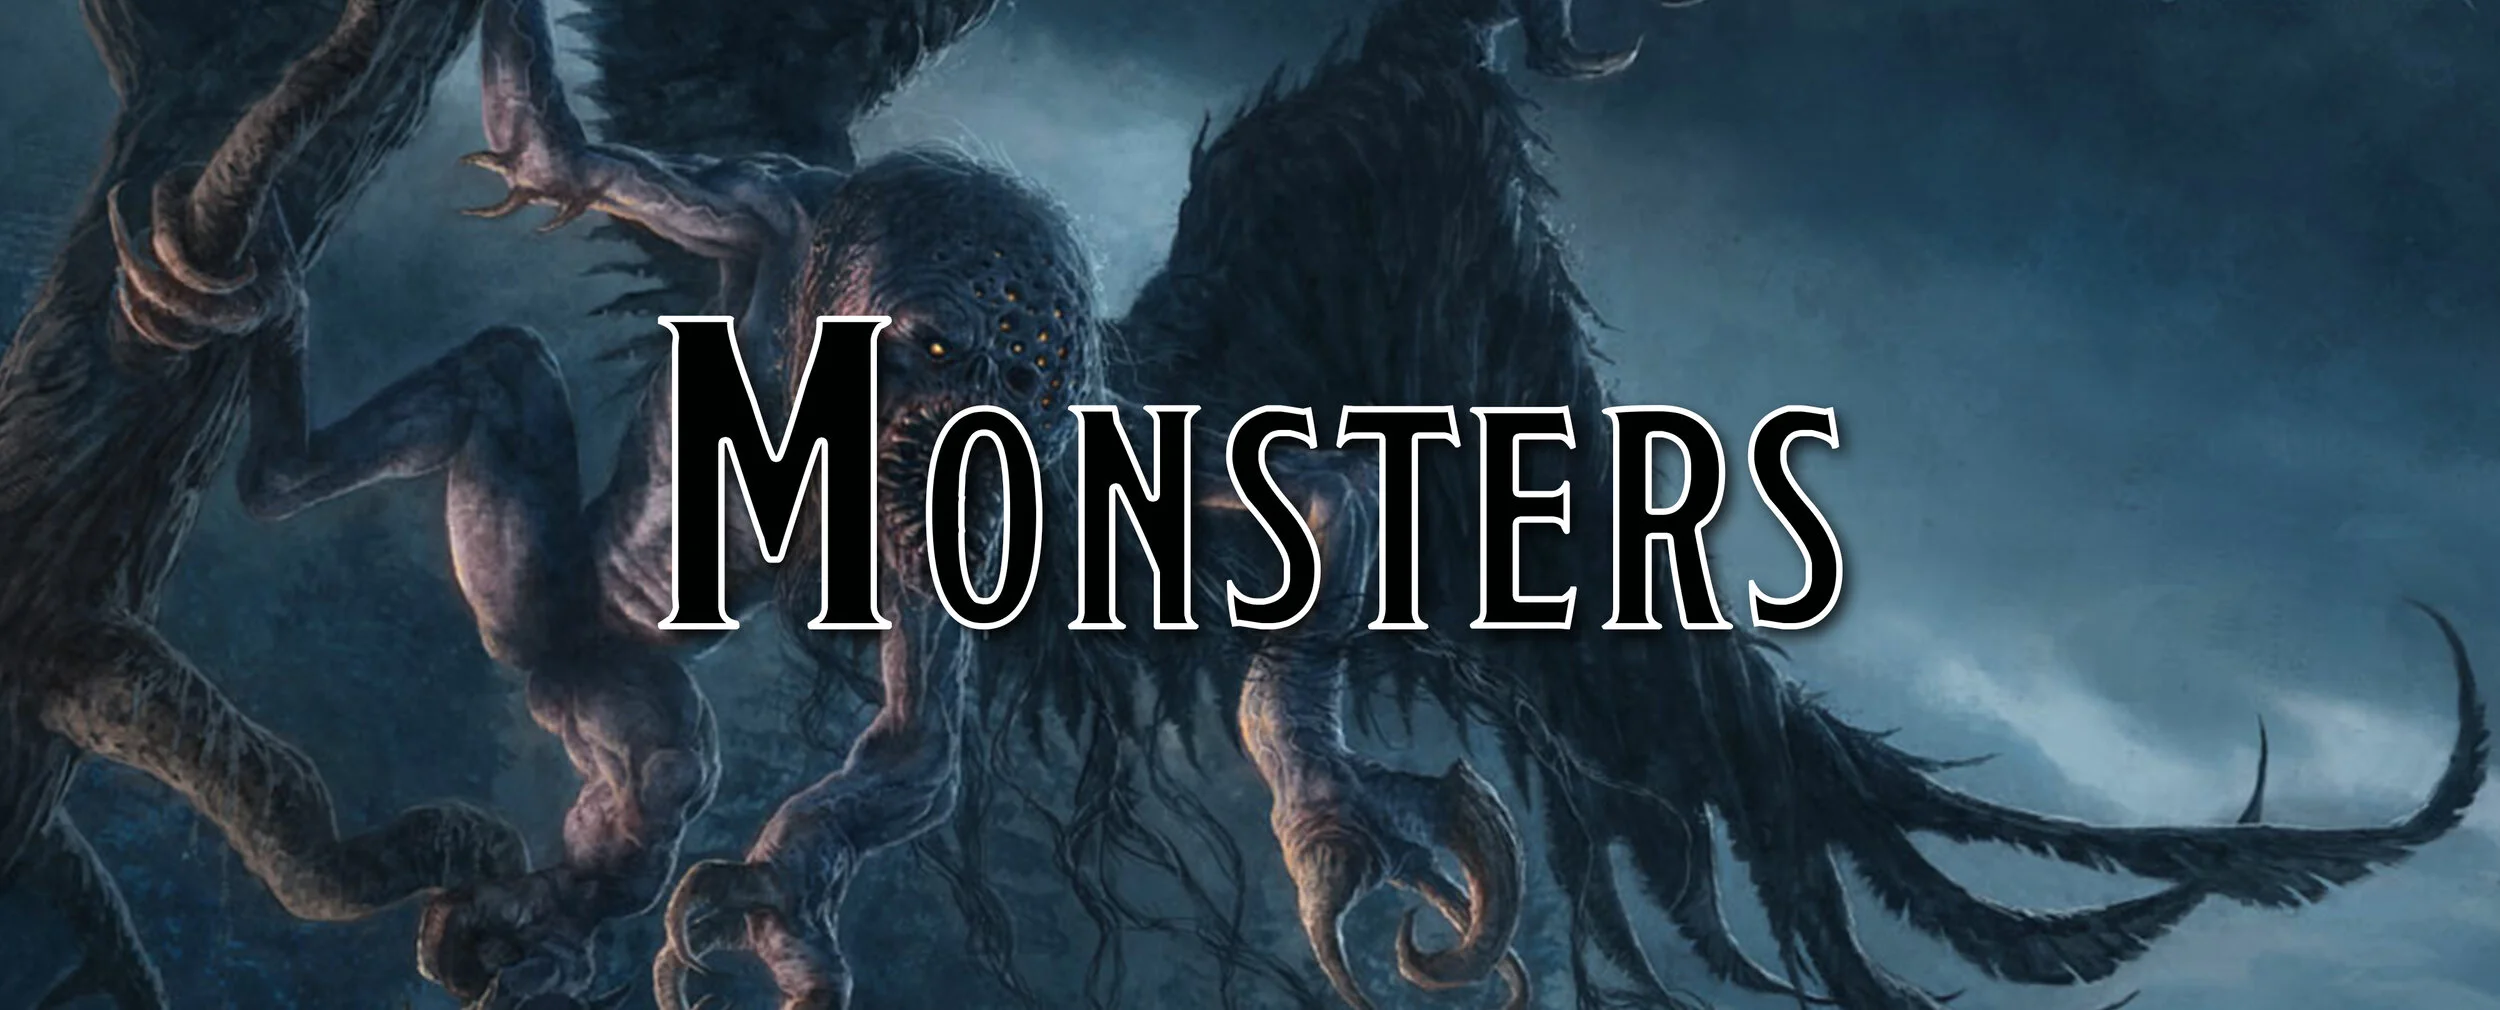
Guide to World Building - Map Making


Mapping isn’t something that I can just pop out in a day. I’ve spent dozens of hours mapping on a single map, and it might have even gotten into triple digits. In fact, sometimes I open up my world map and do a little clean up here, tidy up a name there, and even just to get inspiration for my own games. Mapping can be a lot of work, though it doesn’t have to be. Just a heads up - this post has nothing to do with making a battle map, it is specifically focused on world maps, region maps, and other non-combat maps from my own experience. I’m not a professional cartographer.
If you want something incredibly detailed with rivers, streams, brooks, and individual halfling hovels labeled, you’ll be spending hundreds of hours adding in all that detail. On the other hand, you can simply draw out the continent or island or just the countryside and add in a few sparse elements. You can be done in a few moments if you just want a rough idea as to what’s going on in your world… and you’ll have far more self-control than myself. Once I got started, I could never tell myself that I had done enough, and I ended up re-doing my map multiple times.
Luckily, with all my redos and edits and changes, I’ve learned a little bit about mapping and how to help make a bit more ‘realistic’ maps - though I’ll be the first to admit it’s not anywhere near realistic. A proper cartographer could tear it to pieces, but luckily no one in my groups are cartographers and so I don’t have to hear my players scoffing at my mountains or rivers. They only scoff at my monsters. sniff
Part 1 - Concepts
Before we can begin building the map, we need to first do a light bit of conceptualizing. During this process, you don’t have to decide every detail but instead, it is focused on finding a rough shape for the world. This can be used to build an entire world, a single continent, an island, an archipelago, the surrounding farmland, or even a village if you don’t mind stretching your imagination a bit.
During this stage, here are a few things you should think about before we move on to the next part.
How many landmasses? If you aren’t doing a world map, but rather a continent, you could decide if you want a bunch of tiny islands, a few large islands, or other pertinent details. If you are working on a nation, decide if you want it along the coast, any major rivers, etc.
What natural landmarks would you like to capture? This could be things like having a coastline known as the Dragon Coast, or an island known as Skull Island. This could also be a massive desert created by magic or mountains cutting the world in half separating two warring factions.
How has magic affected the shape of the world? If magic plays an important part in your world, has it caused major changes? Was this change in ancient times? Depending on the scale and how long ago it happened, it could still be very apparent it happened, or the natural world has evolved around it, dulling the sharp edges and making it appear more organic.
How has technology affected the shape of the world? If you have little to no technology, there may be no impact. If your world takes place in the far future, technology could have a greater impact and have formed artificial islands, mountains, and more. Your world could even exist in the far future, but only ancient ruins remain while the world acts like it’s the middle ages.
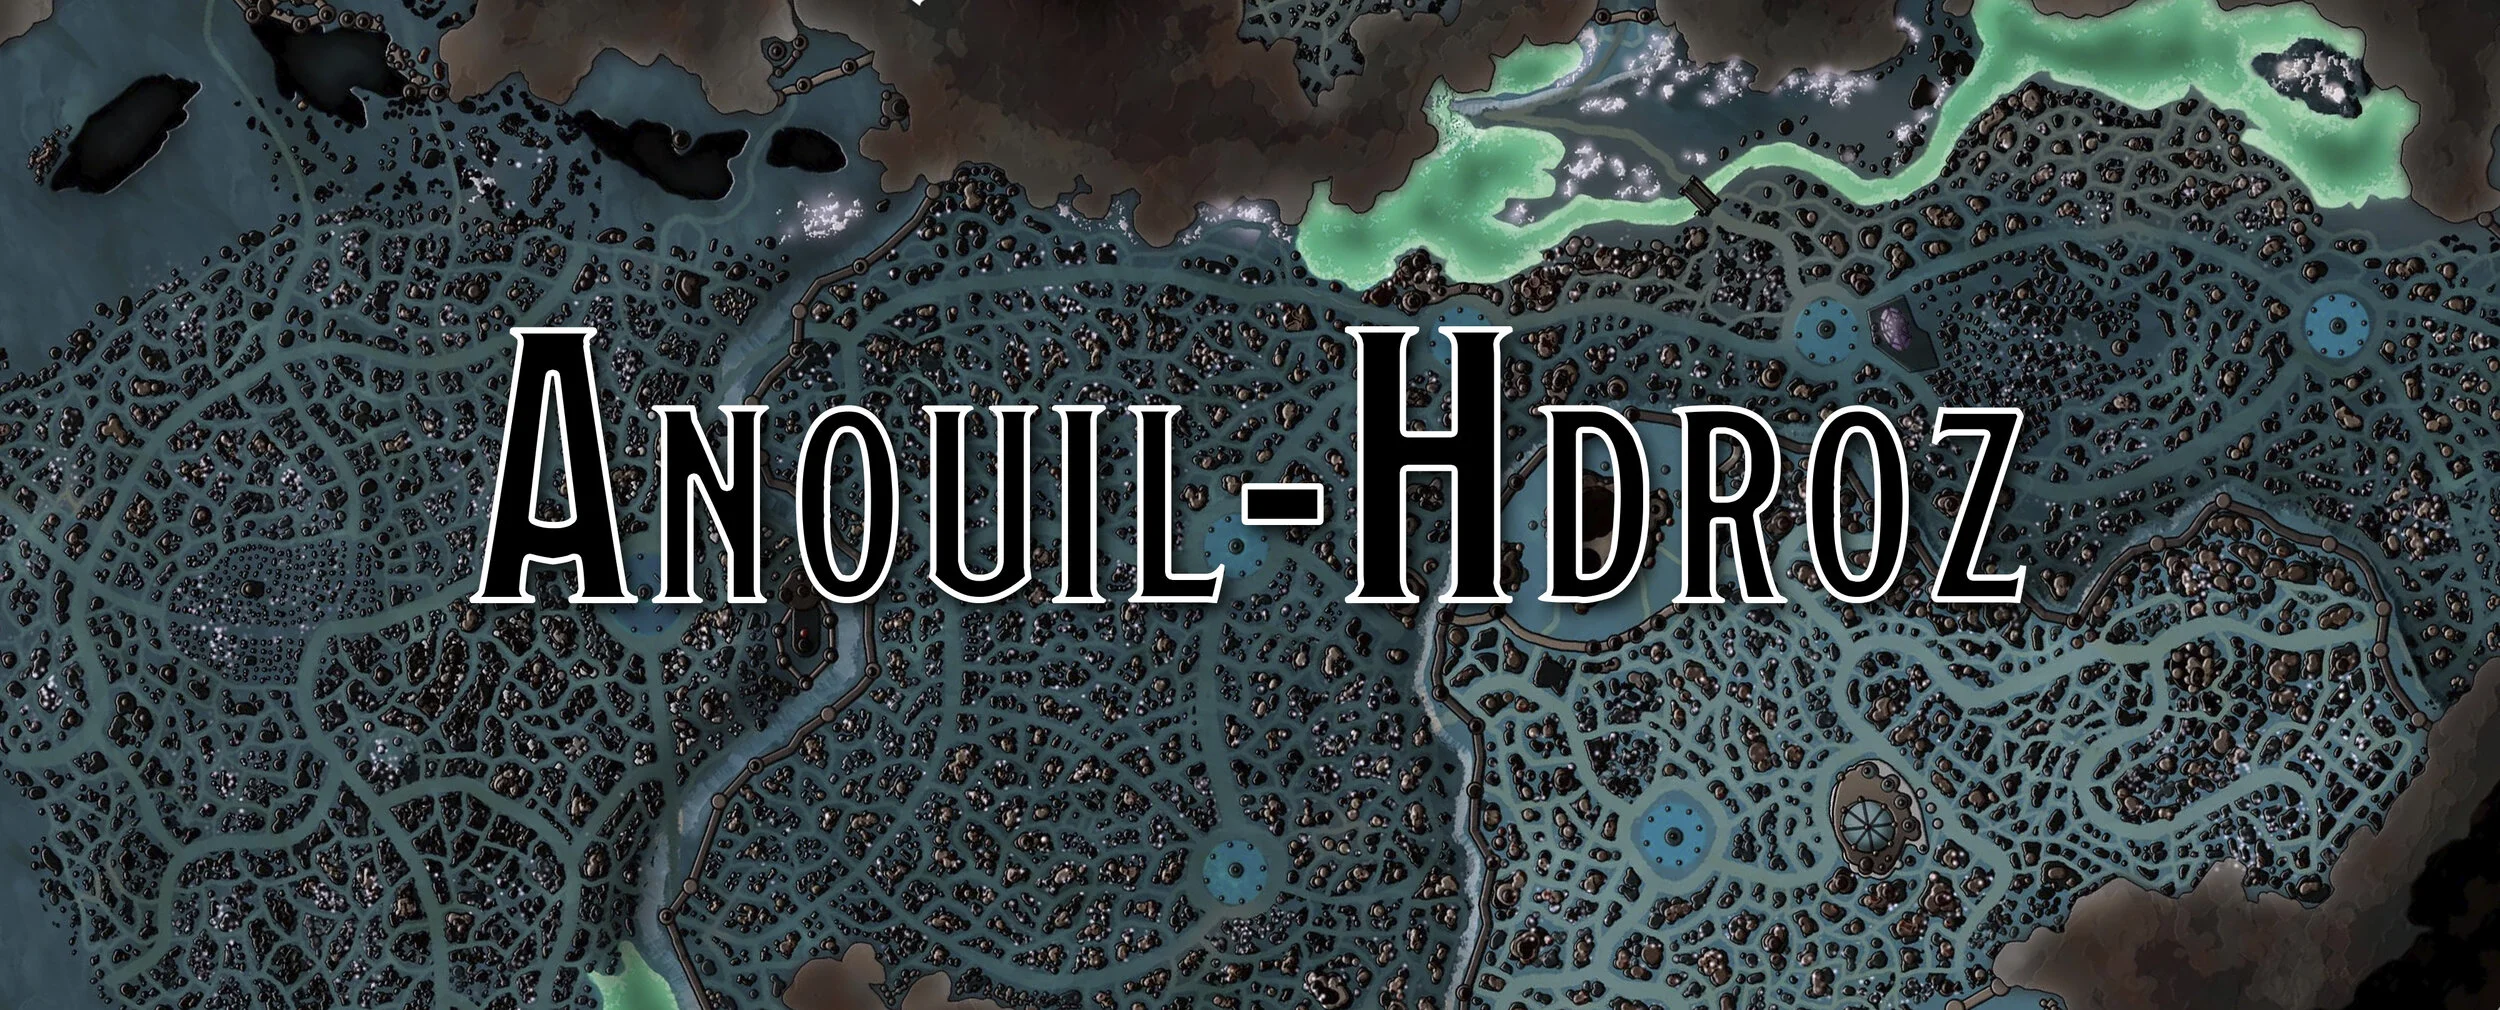
For creating Talia, I decided to just focus on a single landmass instead of creating the entire world. This single landmass had been ripped into three pieces thanks to the death of a god. There are two major islands, one off to the east and one to the west.
Part 2 - Rough Draft
This could involve just doing a rough outline on a blank sheet of paper with a pencil or pen, spilling a mess of coffee grounds on a blank sheet and pushing things around, or some other way of roughing out your landform that can be easily morphed and changed.
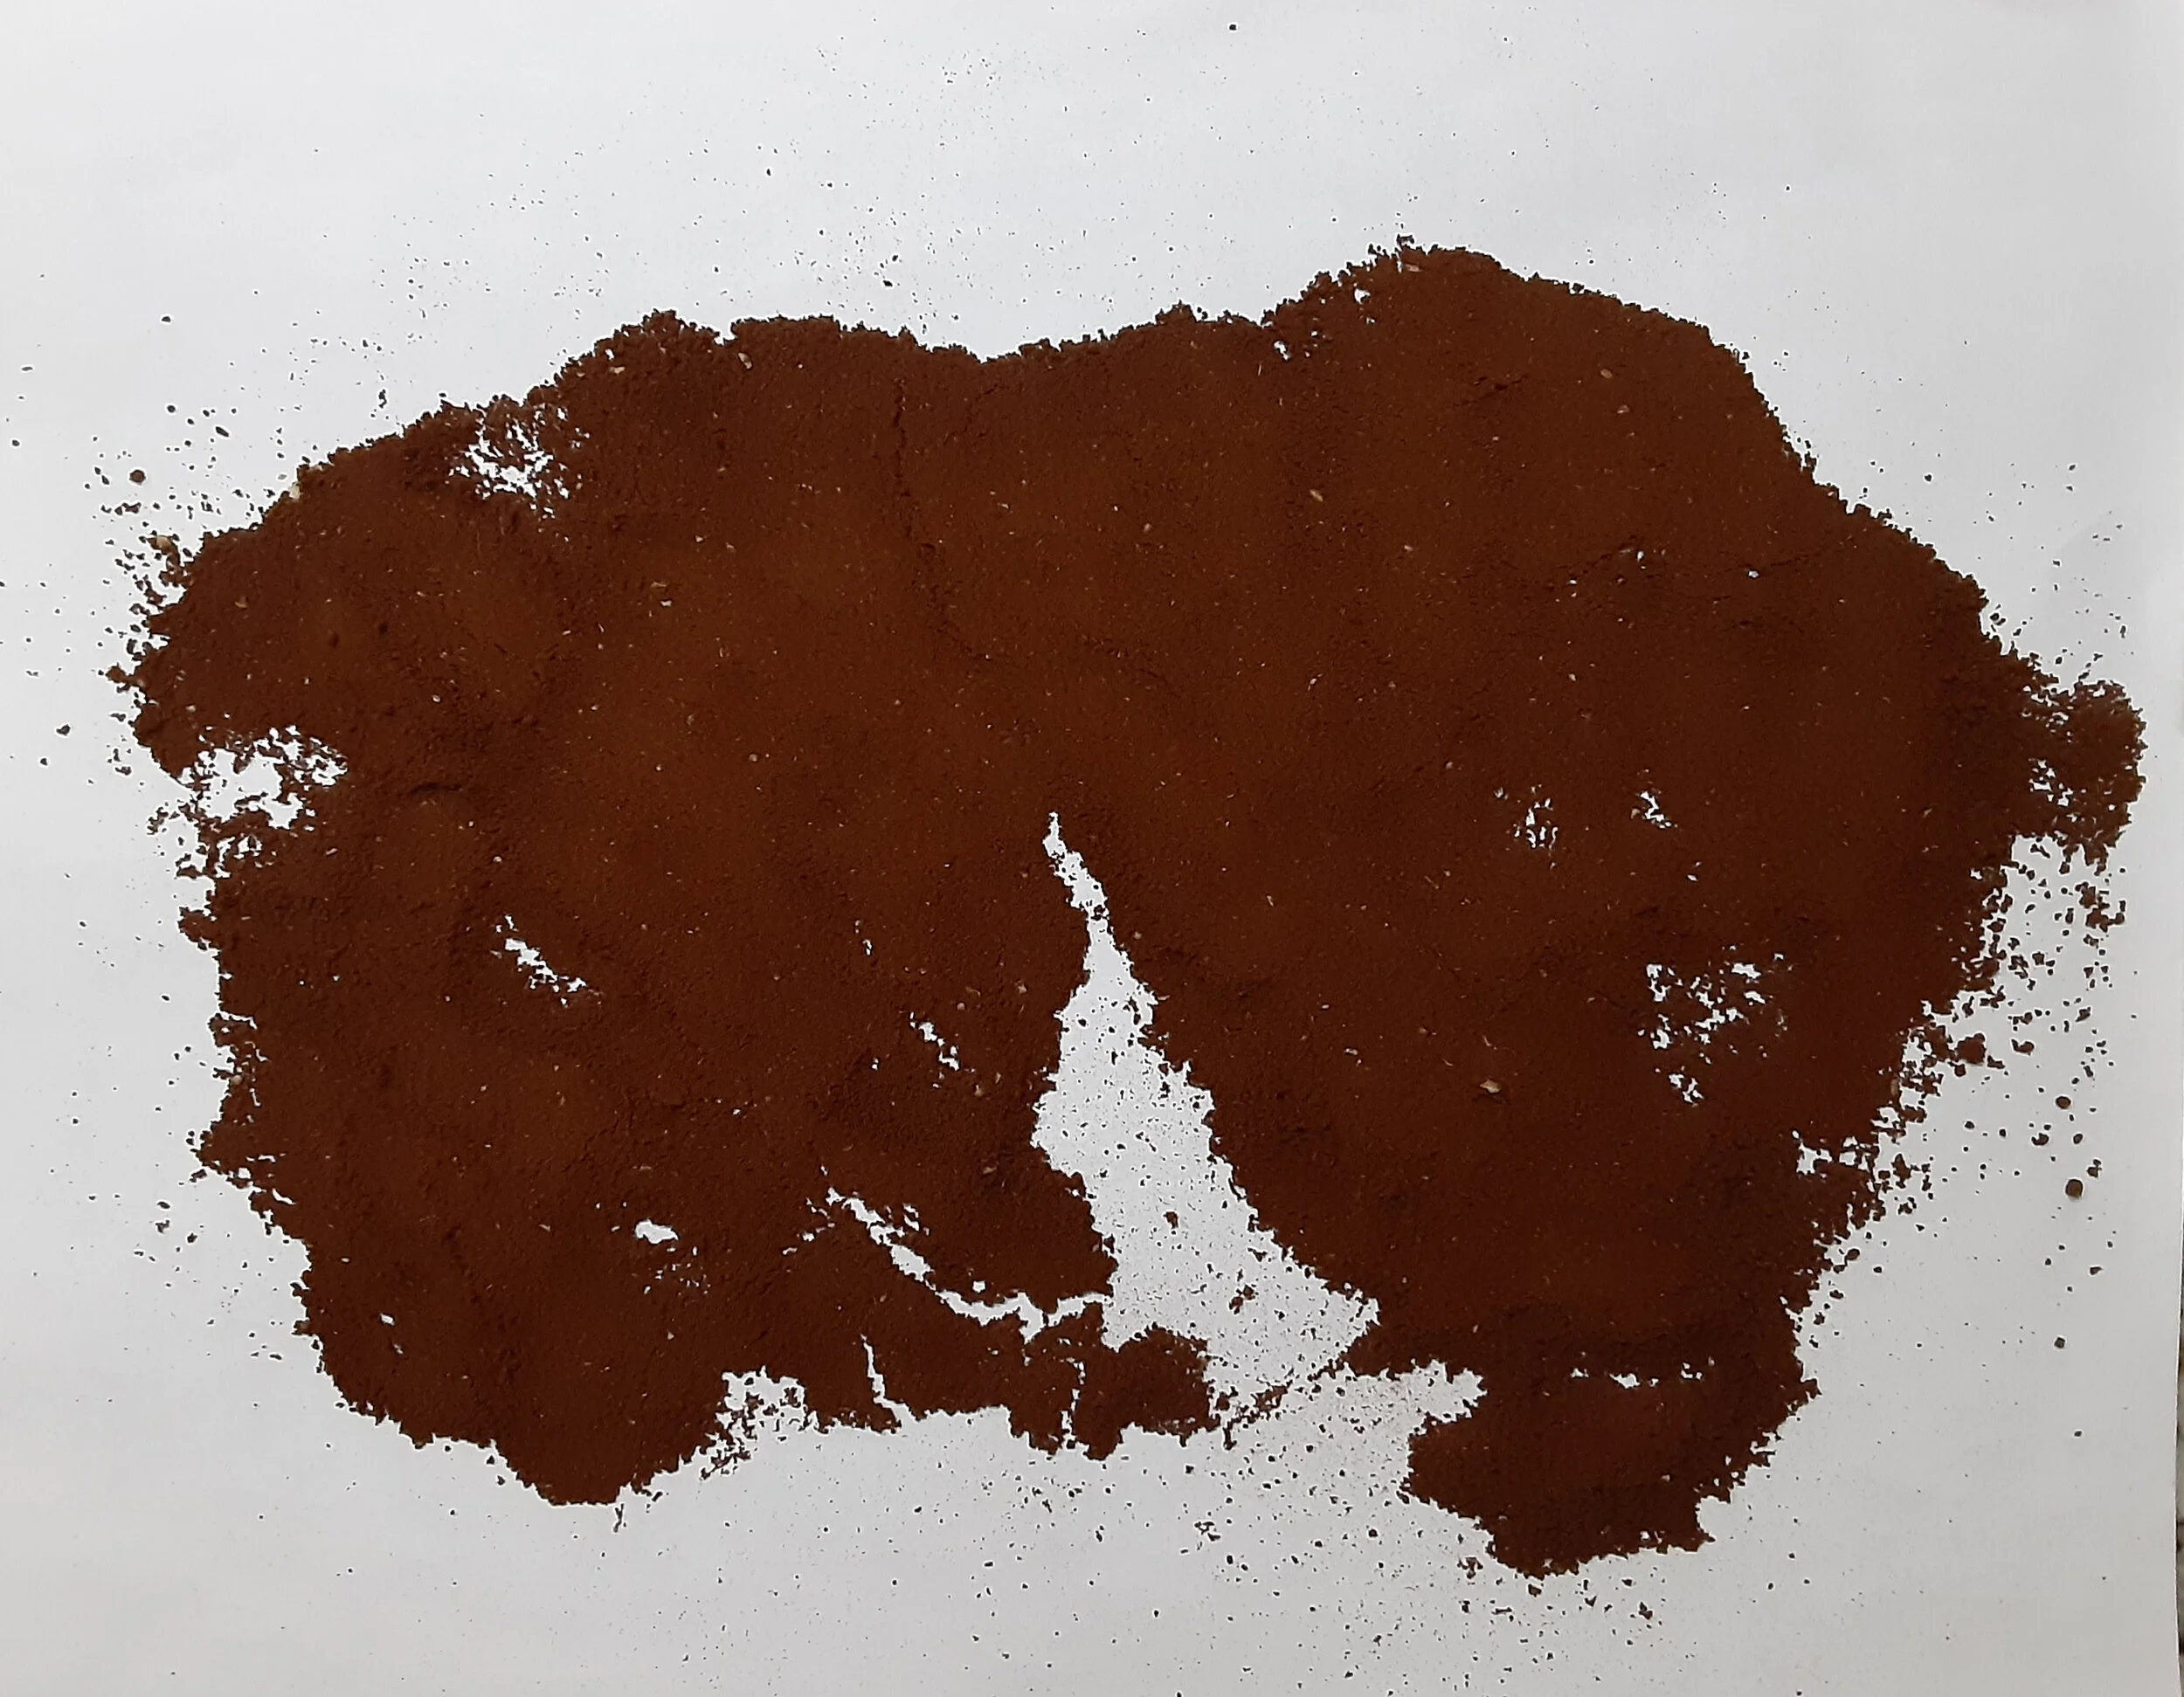
I really like the line going up the middle, and could easily see that being a fiercely contested strip of sea. Not sure I care for the strange hangon on the right side of the map, and the top is a bit boring.
For me, I started with ground coffee, though you can use dried beans, dried rice, dirt, or pretty much anything small that you can push around on a page. Sadly, I lost my old image of what my world looked like in coffee grounds. While that ancient artifact would now be worth millions, we’ll just make do with an example below.
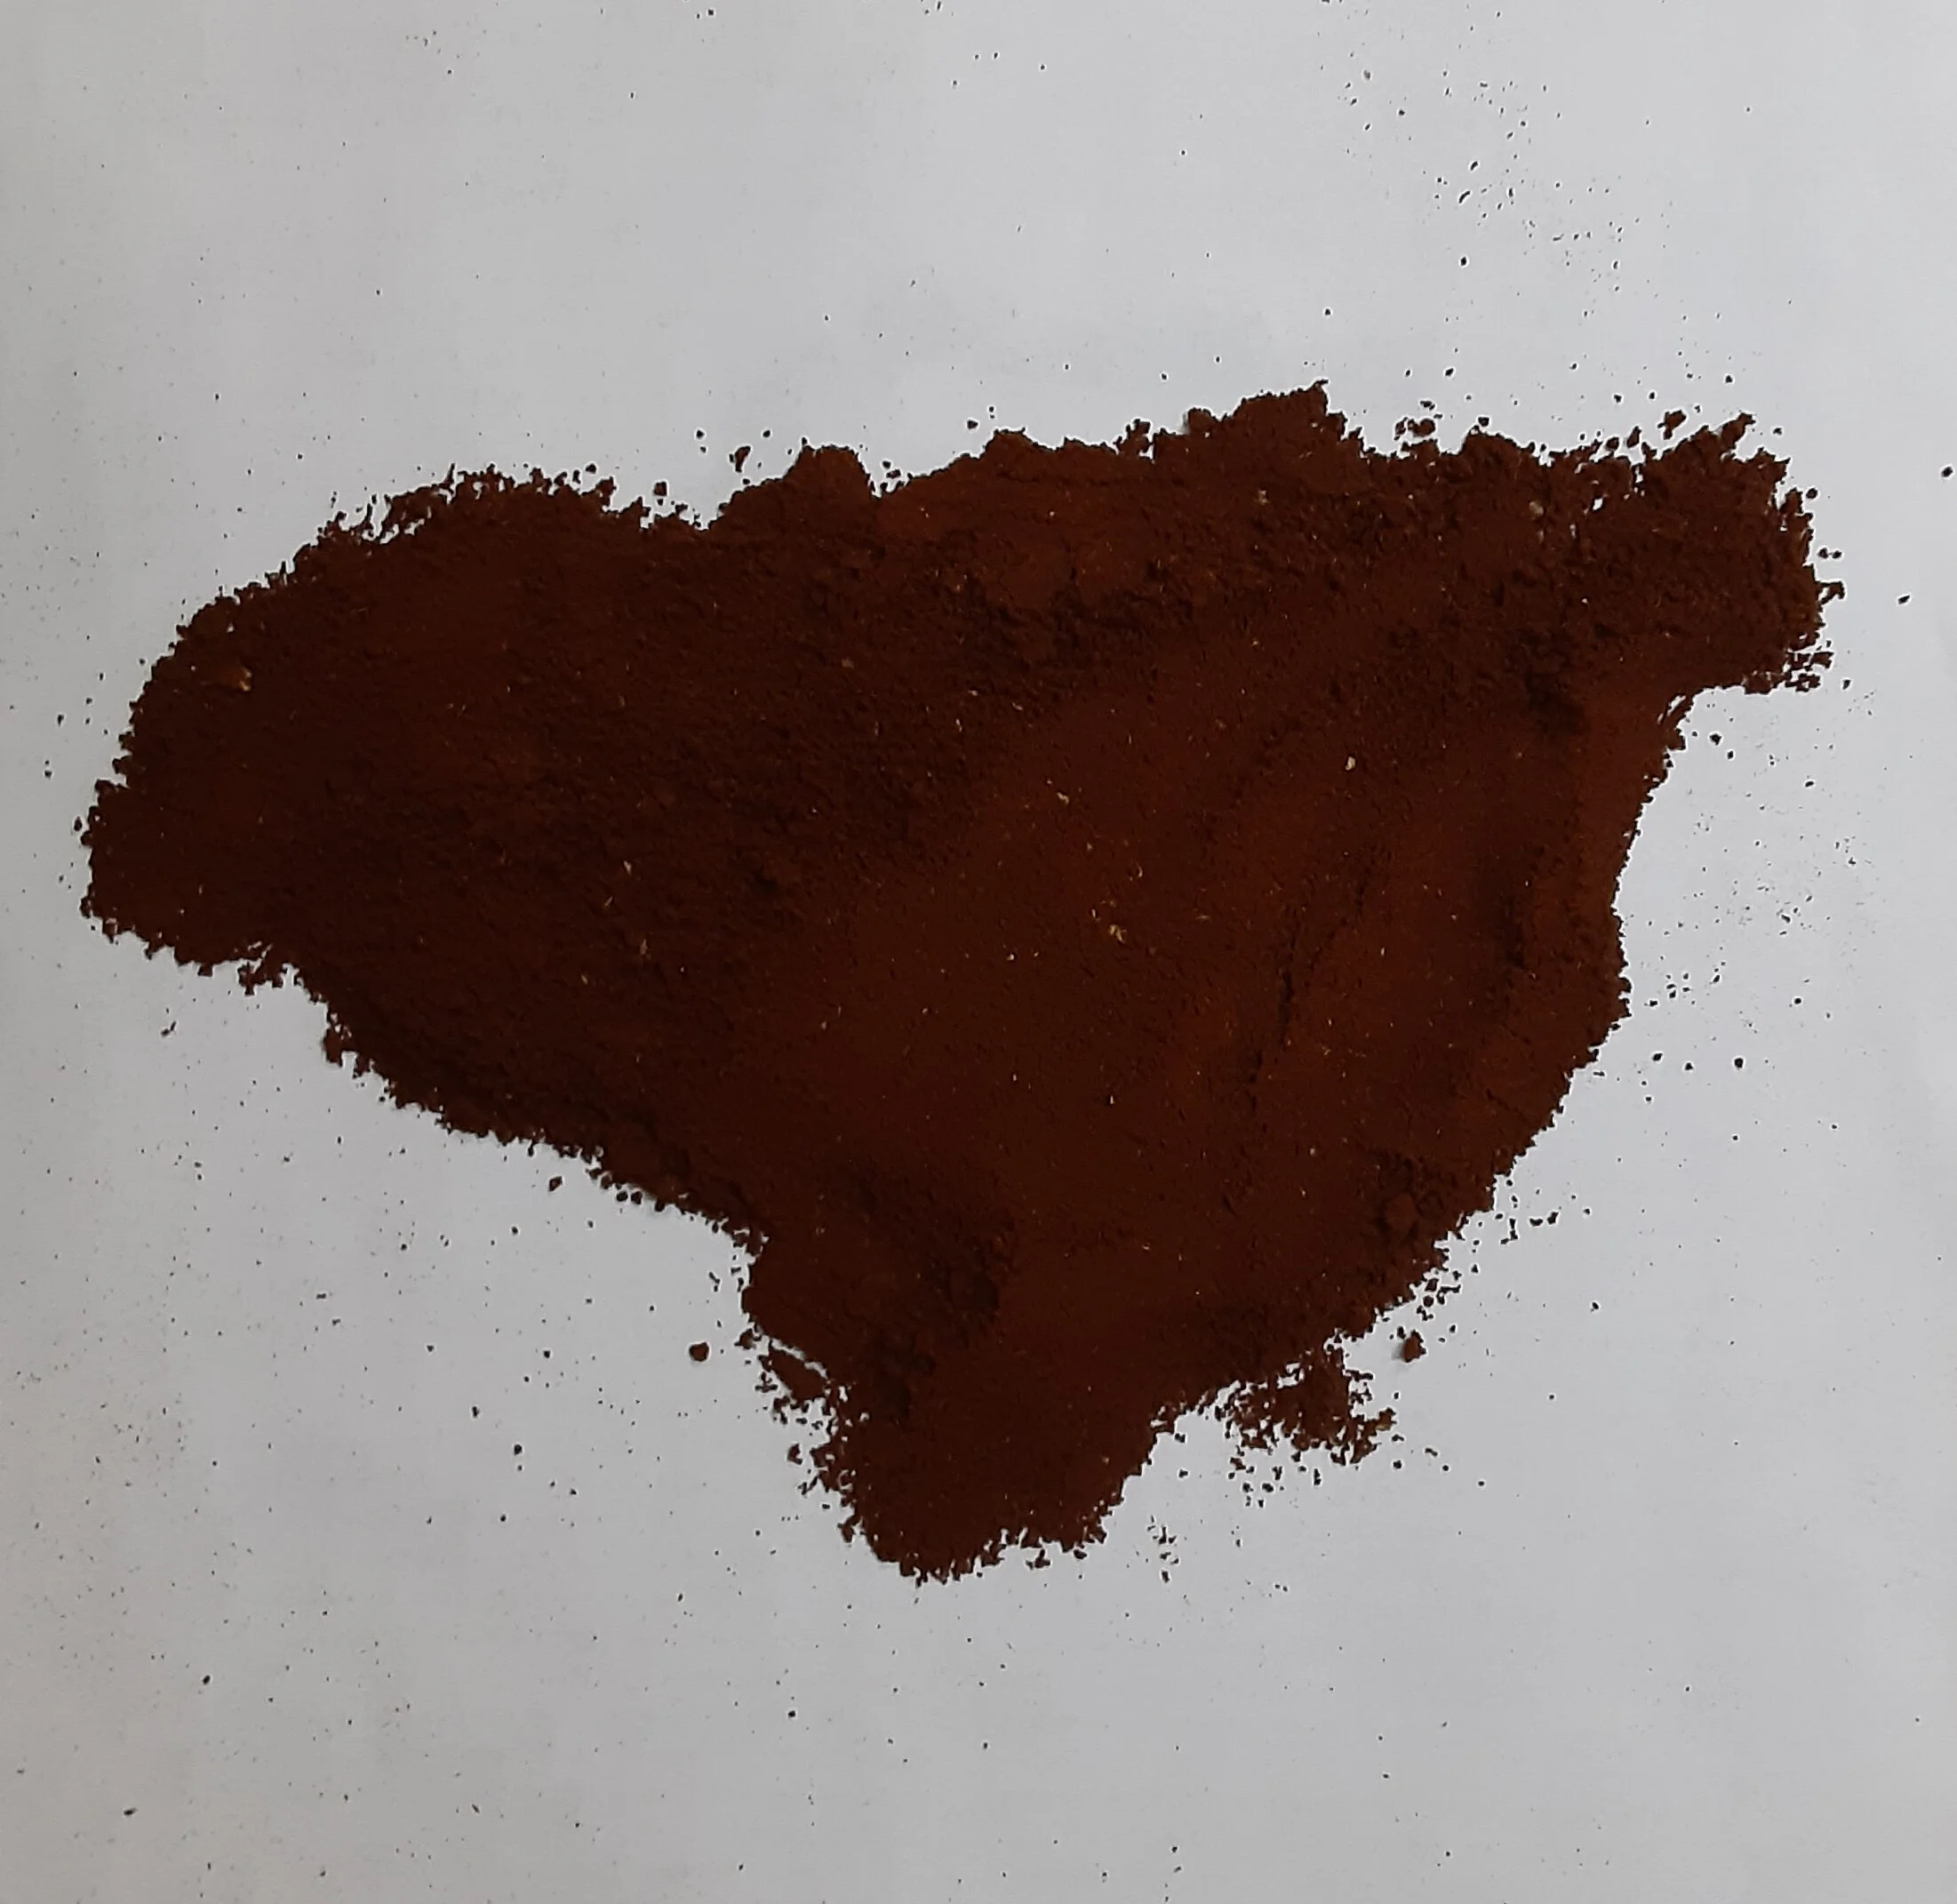
This version feels safe and I don’t particularly feel inspired by it. It could be a fine island near the coast of a much larger landmass.
The secret to doing this is just moving things around in different ways and taking pictures of all the designs and shapes. If you aren’t sure how to start, pile up whatever you are using, and then look at shapes in the real world. Start mimicking what you see, and then begin deviating from there, trying new things until you are happy with your result. While doing this, you don’t need to be looking for a single shape. Instead, taking pictures at all different phases, and you can always go through your favorite. You can even go through, pick your favorite edges from one, your favorite islands from another, and so on. The key to this is just being able to freely morph and change what you see, which is far easier to do with something tactile in front of you instead of dealing with a keyboard and mouse.
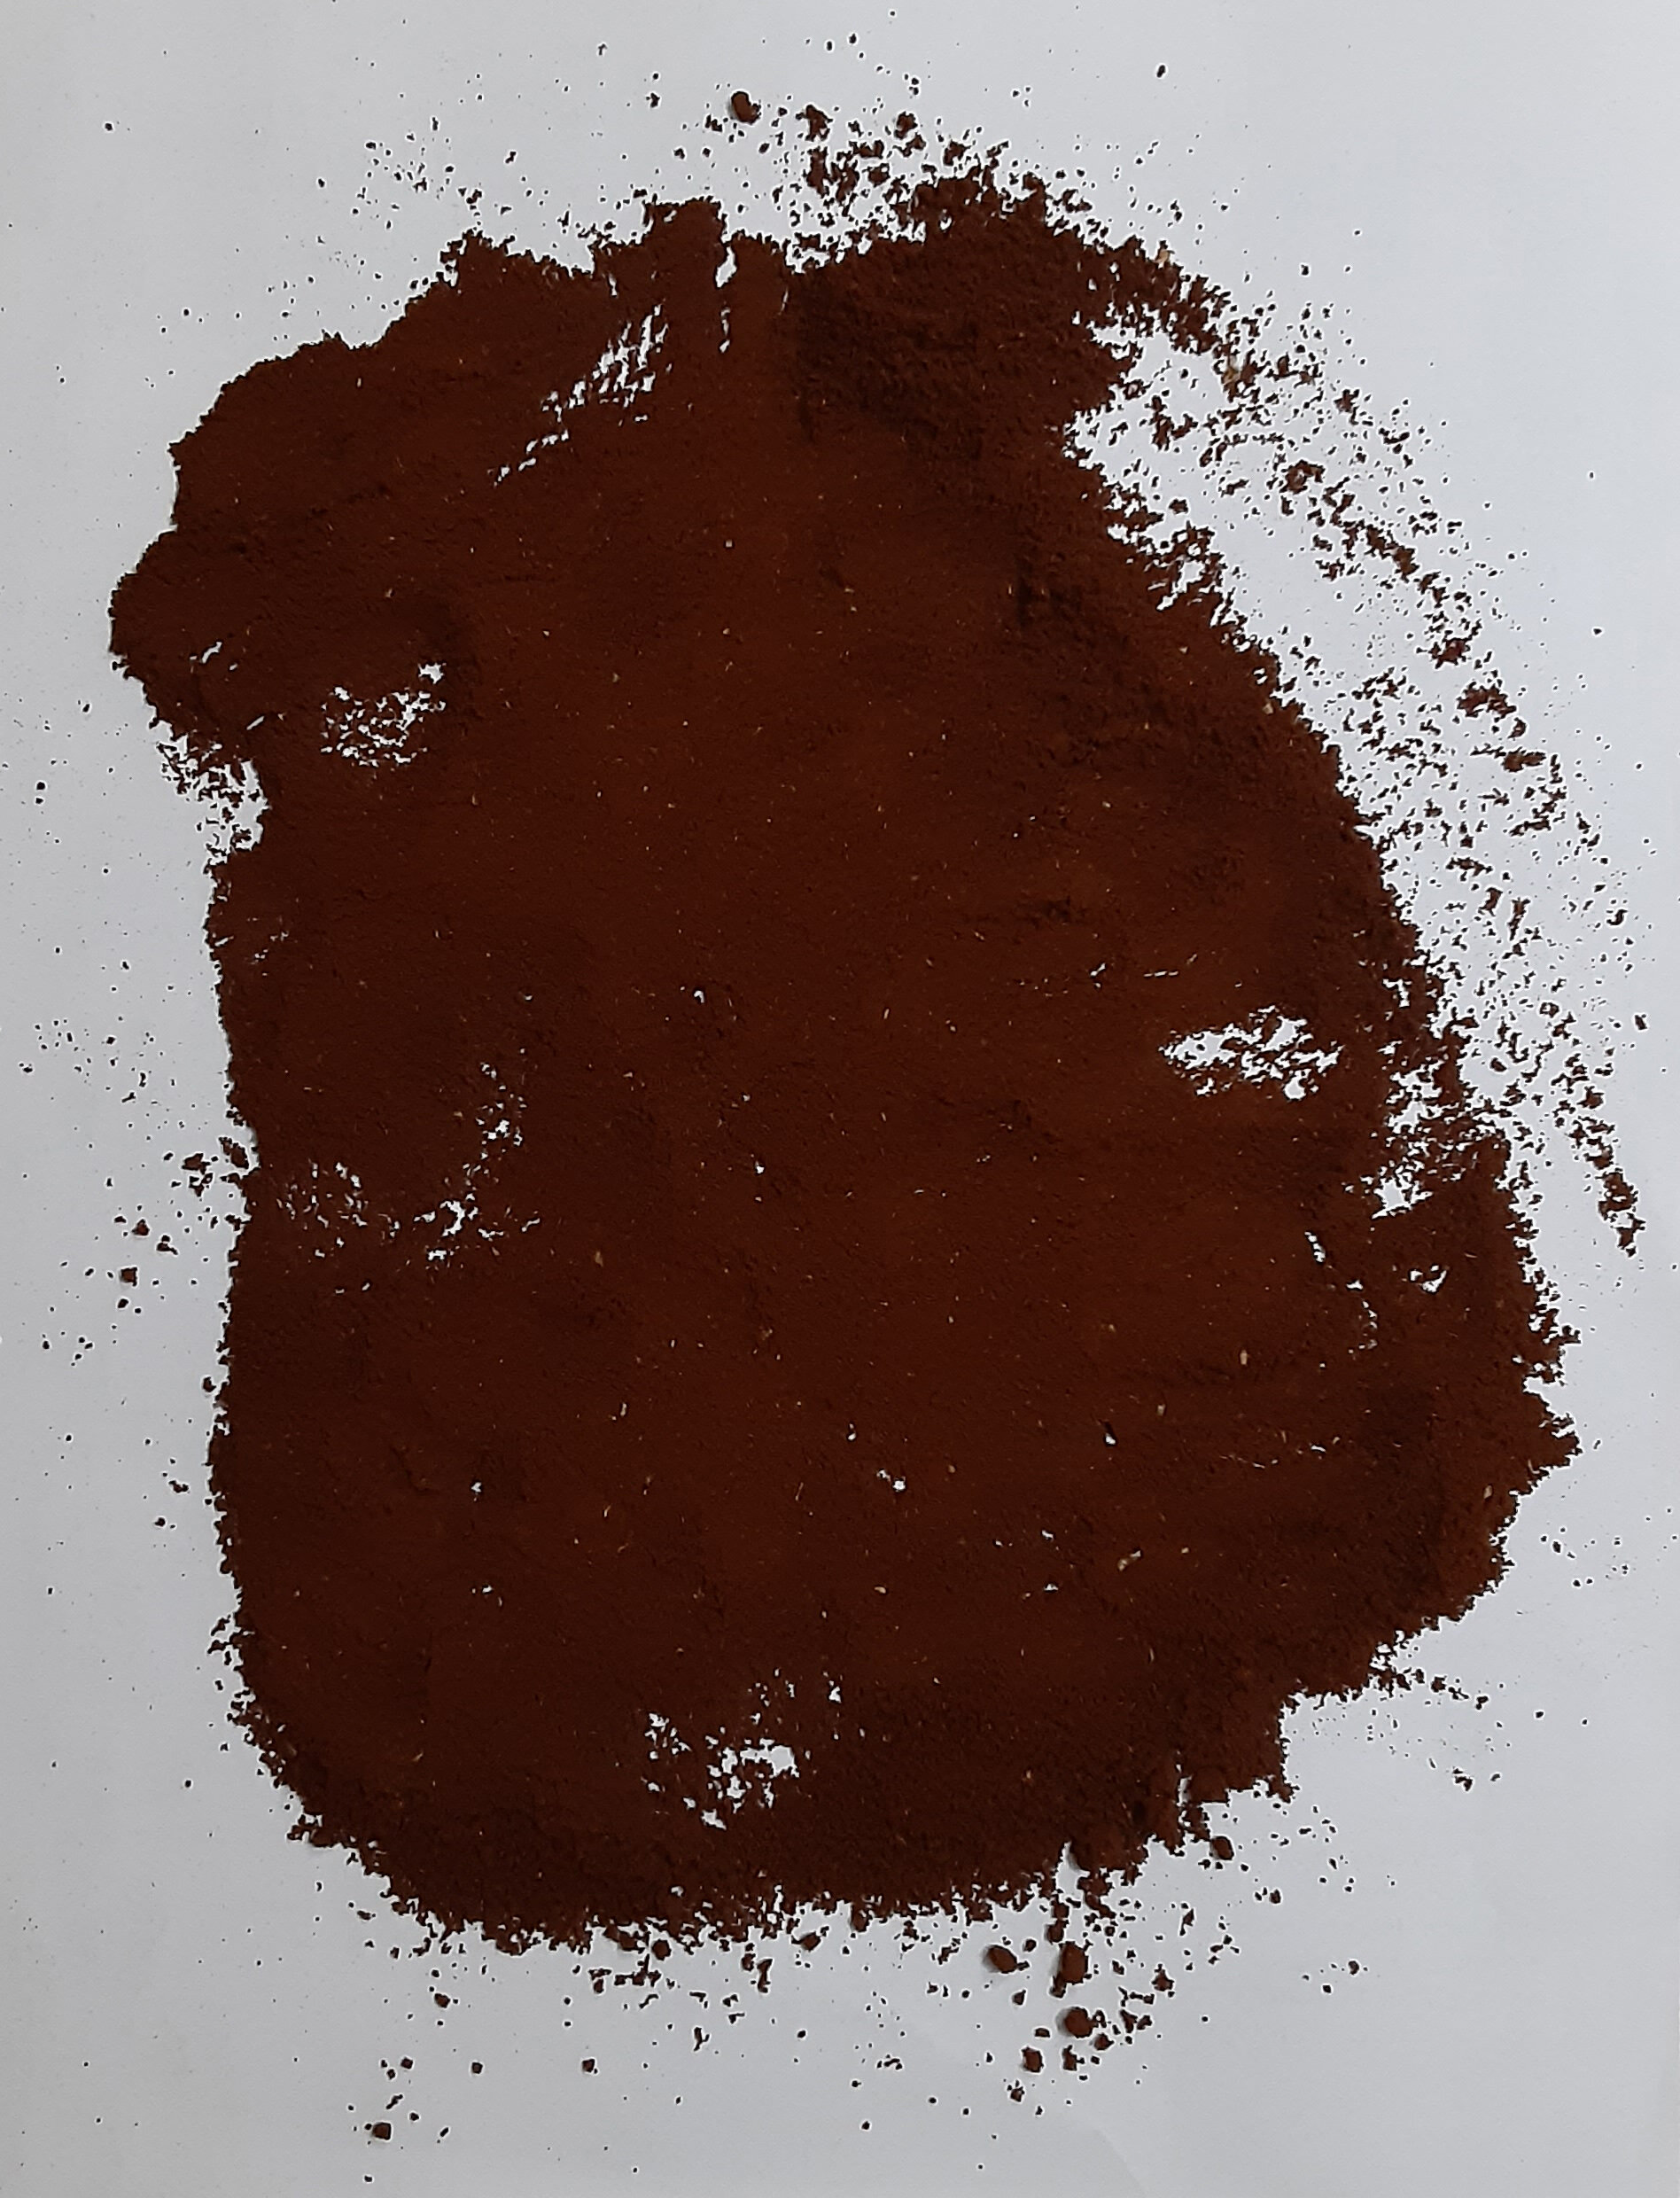
I’m a fan of that swoosh going on at the top right, but the bottom part of it feels a bit too boring and plump. If I combined this one with the first picture, with the inner sea cutting into the landmass, this could create a very interesting map to explore.
Or if you don’t want to get too messy, you can also just look up islands and landmasses on Earth, and taking them into an image editor, begin morphing, resizing, rotating, and more to the landmasses to try and get your preferred look.
Or, there are always online generators that can help you along. These tools provide more randomization, but you are kind of stuck with whatever the tool comes up with. One tool that might be helpful is the one provided by Donjon, which seems to have a random generator for almost everything you’d ever need in a game.
While I don’t have my original coffee grounds pseudo-map of Talia, I actually like some of the bits of the one I took today, so I might be including it as a future landmass in the greater world of Talia.
Part 3 - Laying Out
Now that we have gotten the rough shapes of what we want the map to look right, we can now use those pictures we have and begin combining them. There are a few different ways to go about this like uploading into Photoshop and then adjusting from there, or you could use an online map maker, I’ve used Inkarnate in the past, though there are several others out there that can fulfill a similar function. You can either upload the images you want to use, or you can draw on the screen using your images as reference, especially if you have some natural landmarks you want to add, like adding in additional islands, making the coastline swoop in a different way, or anything else.
If you are using photoshop, I’m in love with the brushes provided by K.M. Alexander and have used several of those brush sets in my own world.
This part is about adjusting and forming your world, and at this point, you should begin thinking about where you want mountains, deserts, forests, and other major details. Once you have your world drawn in, you can start focusing on those major details, and if you aren’t sure where or how you want to start, here is how I did it:
Mountains are first laid across the landscape. When deciding where these mountains should be placed, don’t fret too much about plate tectonics, if you ever get to the point where you are thinking about plate tectonics, they can just be whatever shape you want them to be. For those curious, most mountains on Earth tend to run in a North-South direction, though there are plenty that go East-West. Mountains rarely exist by themselves, though some do form. When creating mountains, form them in chains over several hundred miles long or more.
Deserts, forests, and more can be decided now that we have our mountains.
Deserts form up in extreme temperature zones where it gets blisteringly hot during the day and very cold at night. They also form thanks to weather patterns where little rain can get to them. If you look at the Mohave desert formed in the United States, the nearby mountain range blocks much of the rain that would come from the ocean, drying it out. Deserts can form up one side of mountains (though rarely on both), and can form up along the coasts, like in Africa or Australia.
Forests appear over much of the land, though they rarely appear right next to deserts. Instead, the sand slowly fades into rocky terrain which morphs over in savannas and sweeping grassland. Tropical forests appear in tropical regions, as the name might have given it away, which features high humidity, rainfall, and more. Forests spring up wherever there is enough rain to water the trees, and, unless cut back by civilization, take up much of the land.
Smaller details can slowly be added, like removing land to make lakes and rivers, forming up swamps, thinking of where to add cliffs, and the like.
Major cities can be placed down, these places often exist along the coastline for easy trade access with the world, though they also reside along rivers, lakes, and similar places. If they exist at very hard to reach places on a map, there is often a reason for it like mining, holy sites, or other reasons.
This is an early map I started when trying to create my map in Talia. Eventually, I realized it was too difficult to work on the entire landmass at once and would eventually change my focus so that I was only working on a smaller pieces of the world at a time.
Part 4 - Civilization
Once nature has been roughed in on the map, we can start looking at cities and settlements. The world affects where cities can form up, most people, unless there is a very specific reason, aren’t going to set up a city on top of a mountain peak, just as most aren’t going to settle down in the middle of a desert with no nearby water.
If you have a specific region you want more developed, you can focus on just a tiny portion of the map, and then slowly expand from there. Not every piece of your map needs to be at the same stage as everywhere else, though it can be helpful to at least have the major natural features roughed into where you want.
Nation borders can also be worked on during this time, as the natural world often helps define where kingdoms end. Borders often extend to very specific places on the map, mostly because way back then there wasn’t satellites to help pinpoint exactly where borders should end. Kingdoms often extended their borders until there is a river, or end it along a mountain pass, or at a coastline.
When I was creating my own map, I started first with roughing in mountains and the like, then I started looking at small sections of each place and slowly building it up more and more.

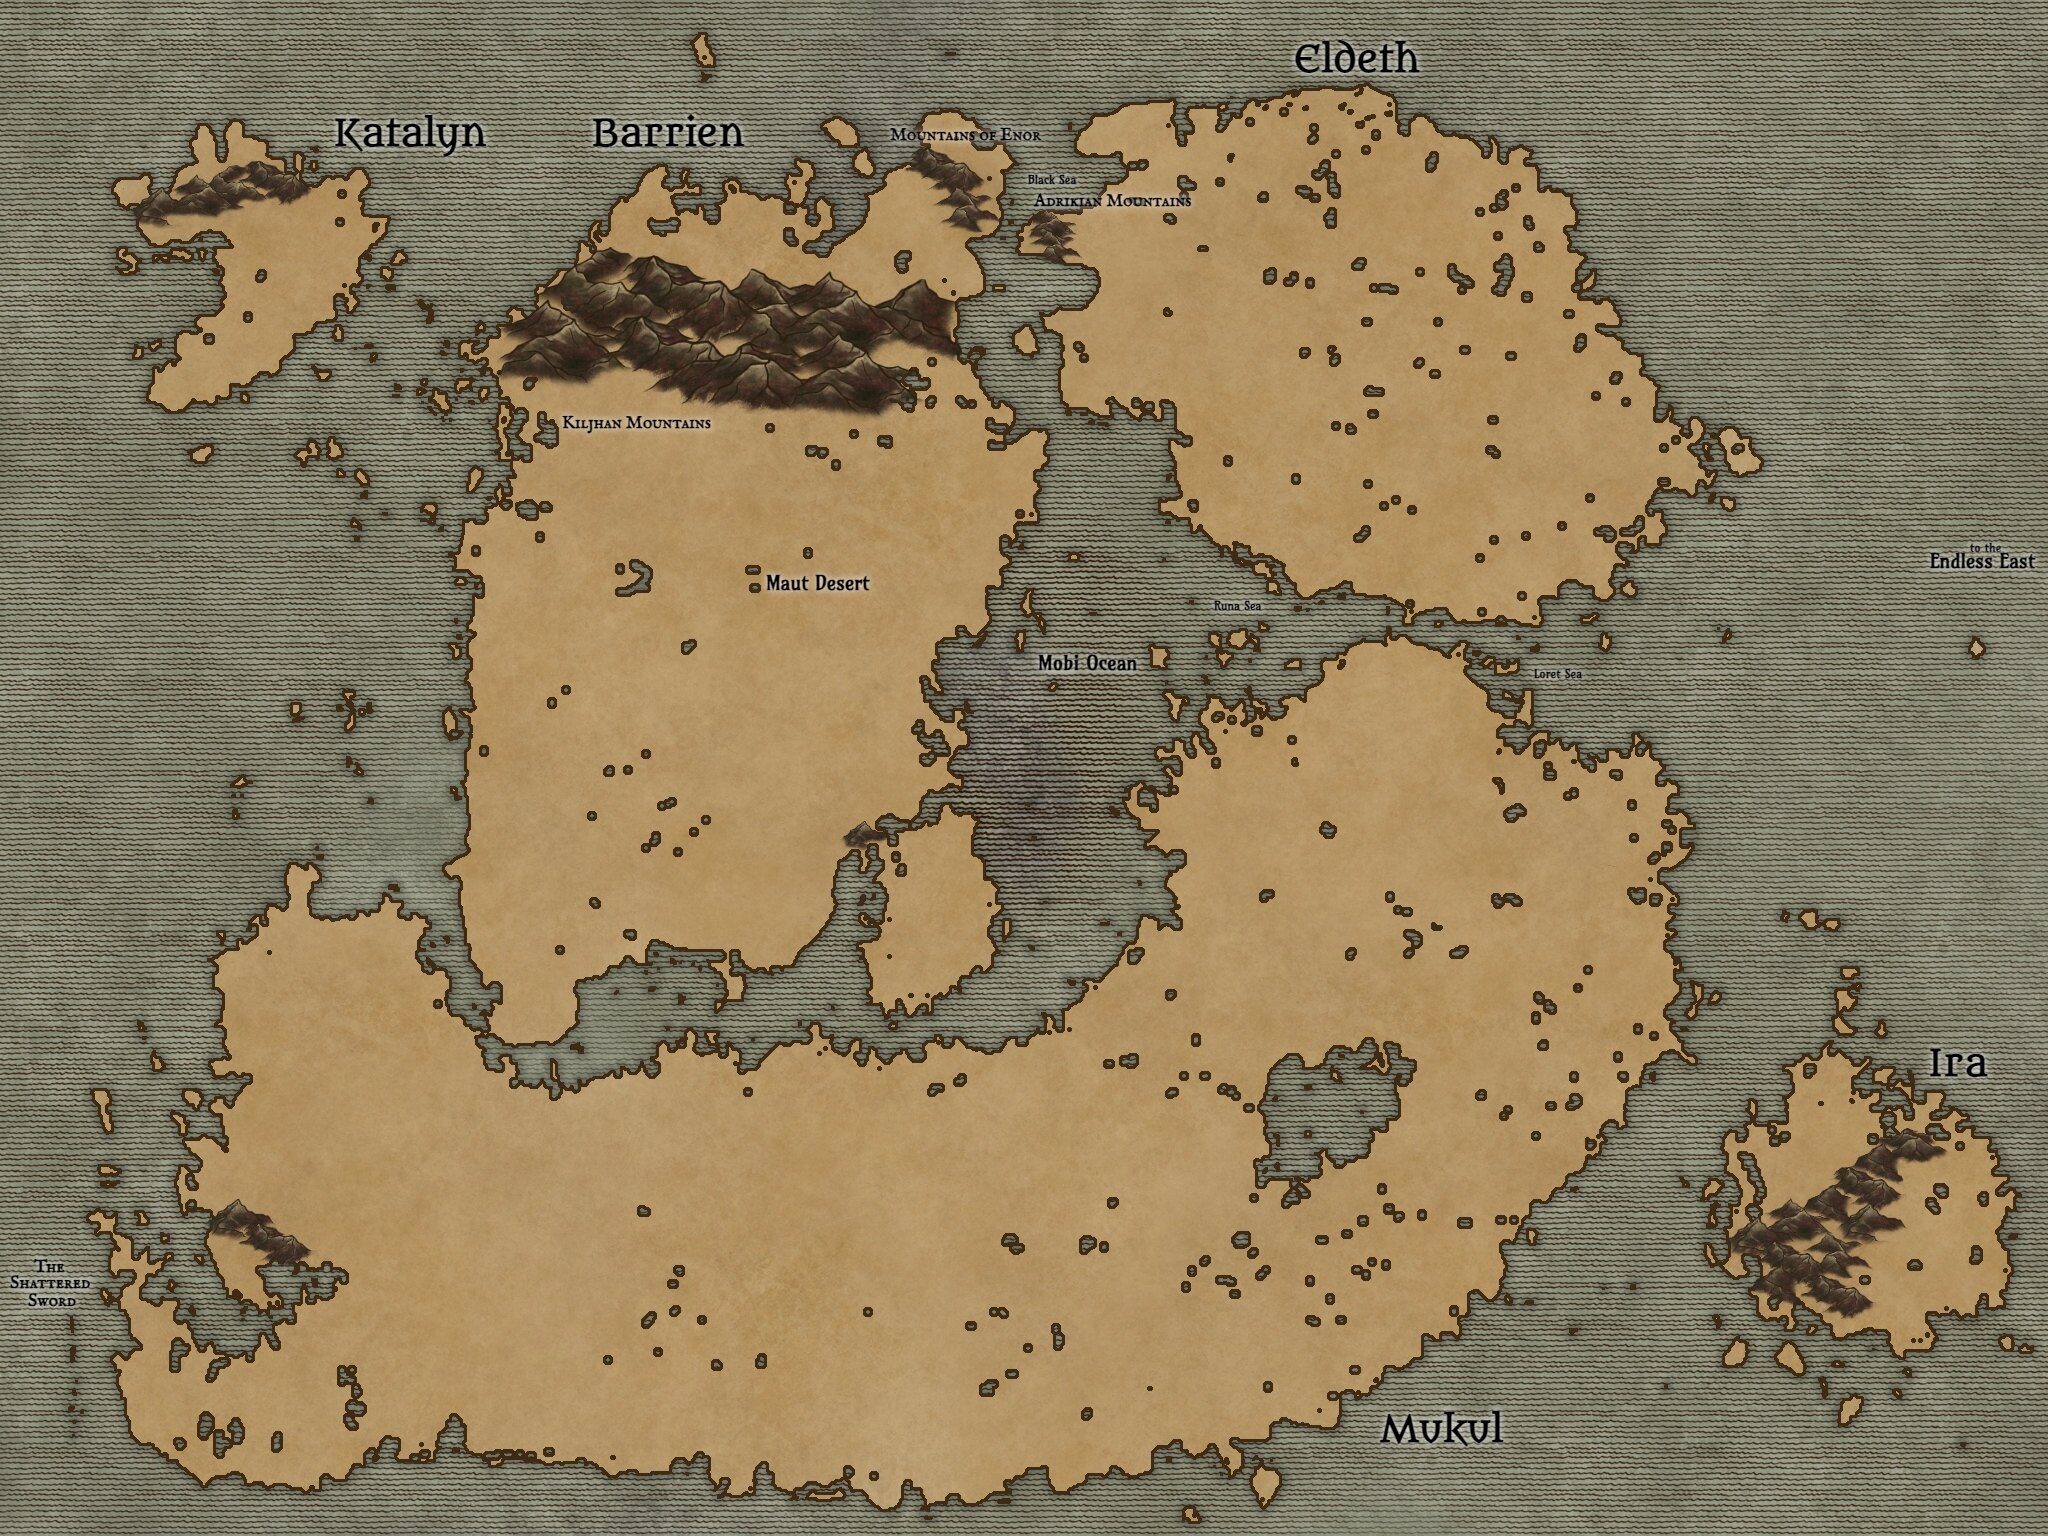
Map of Talia, Stephen Bandstra
What’s Next
This entire process is long, but it is quite rewarding! When you start building up the world, you can even start imagining what might have once been or what is there now. Write down notes as you are working, like this mountain might be a dragon’s roost, or a coastline could have a problem with mutant crab people. Nothing is set in stone, and you can morph your world to best fit your wants. Next time, I’m going to talk about the kingdoms and nations, about how you can create places worth visiting.
Like what we are doing here?
Support us on Patreon!
You’ll get early access to deep dives, our Homebrew Hoard, monster stat blocks and more!
Follow us on Twitter to keep up to date on everything we talk about!